Main navigation
Secondary navigation
Header settings
The footer menu
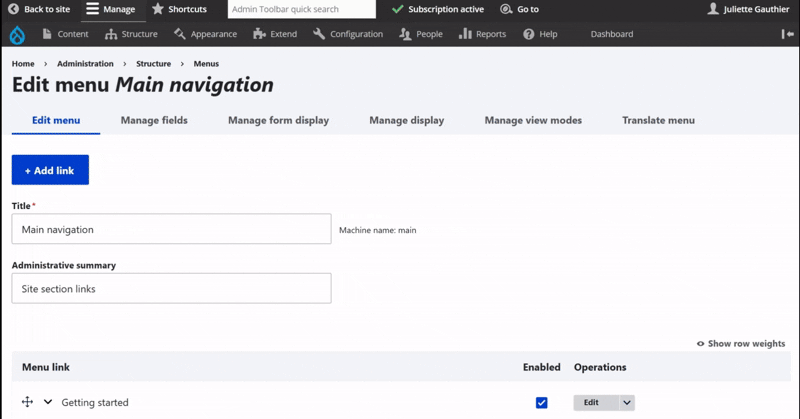
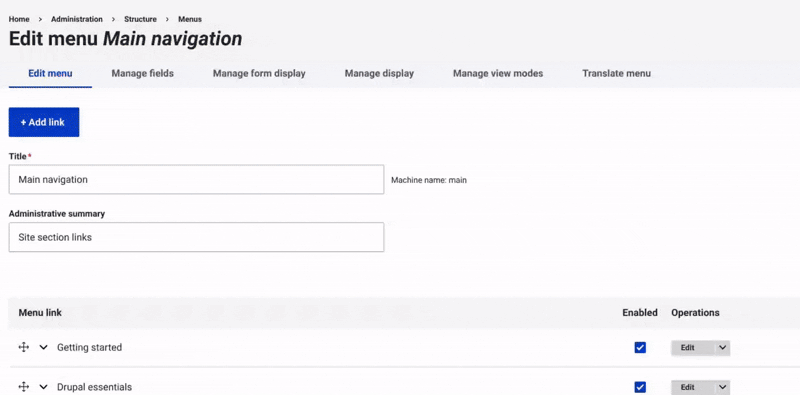
To access, first click on Structure in the main menu.
Then, go to the Menus section.
From there, click on Main navigation.
Navigation structure
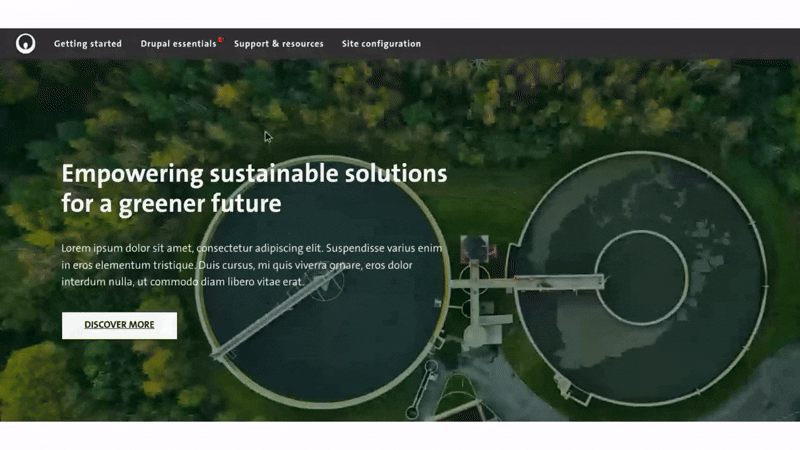
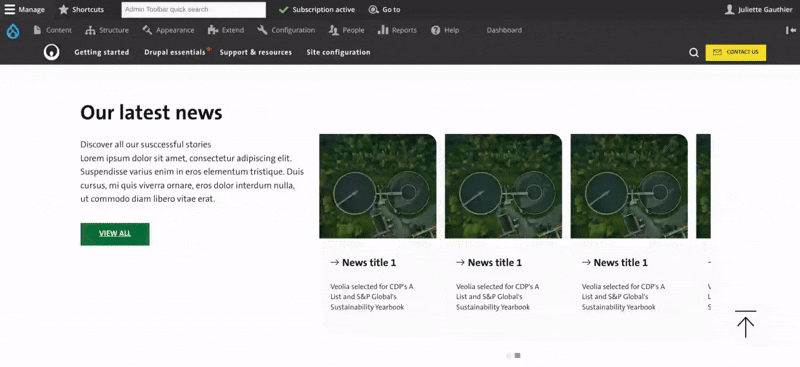
The first-level navigation is always visible at the top of the site.
When you hover over a first-level menu item, a dropdown menu displays the second-level navigation, allowing access to more specific sections.
Recommendation: For your websites, do not exceed two levels of navigation to ensure a more intuitive user experience, and improved SEO performance.
Navigation first level set up
____________________________________________________

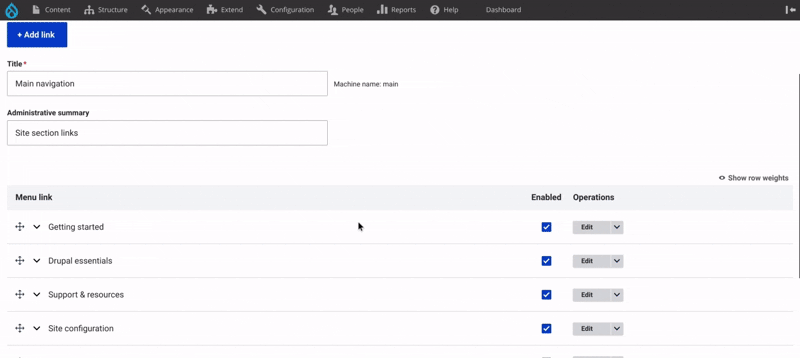
In the Menu link, you can see all the main navigation items.
To add a main navigation item, click the blue Add link button at the top.
On the edit page, enter the menu title and the link to the page. Recommendation: Use a <nolink> (as shown in the example GIF).
For the first level navigation, make sure to check the "Show as expanded" box.
Below, check "Enable for all pages". You can also choose to enable "Show right separator" — a thin line that separates items — and "Red dot" to highlight and draw attention to specific content.
On the right, set the Parent link to "Main navigation", then click Save.
Navigation second level set up
The second-level navigation is located under the main navigation in the Menu link. To edit or add a sub-item, click on Edit to the right.
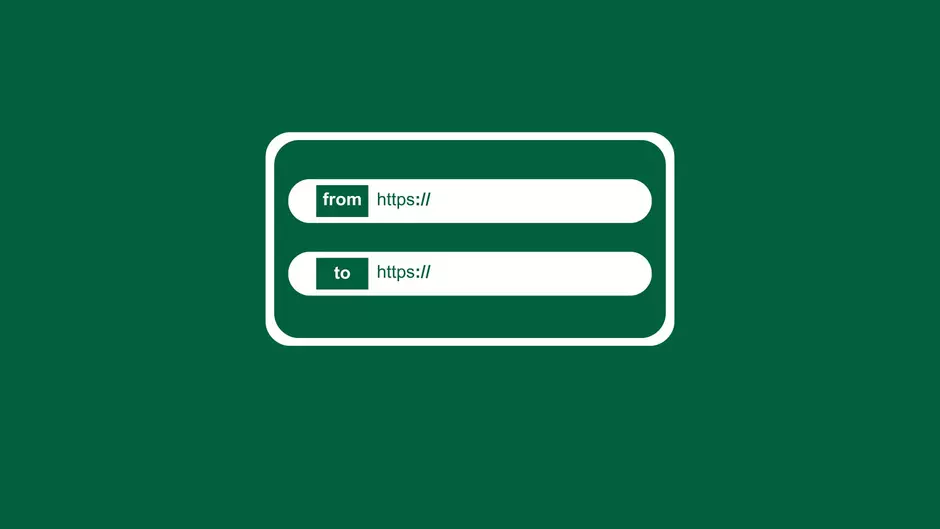
On the edit page, enter the title of the menu item and paste the node (URL path) of the page it should link to.
Then, on the right side, choose the Parent link. It is very important to set the parent link to the correct level 1 menu item from the Main navigation.
Once everything is set, click Save. Your second-level item will now appear under the selected main menu item.
Setting up main navigation | second method
There is a second method for adding a page to the navigation.
In the right-hand menu, open the Menu settings dropdown, check "Provide a menu link", then enter the menu title and description.
Before publishing the page, make sure to specify the Parent link, which corresponds to the Level 1 navigation item. It's essential to correctly position your page within the site's menu structure.

Navigation order settings
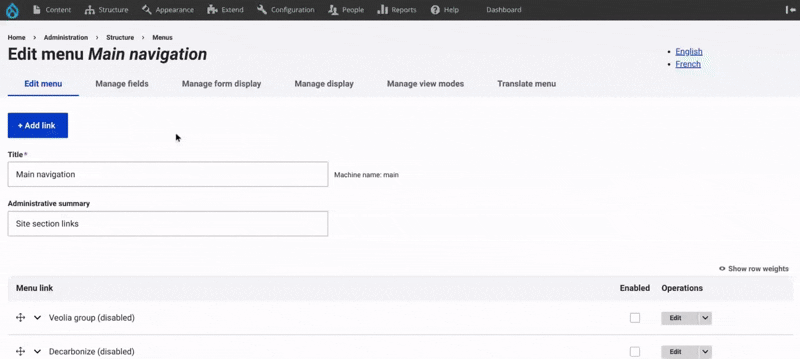
You can easily reorder your menu items. Simply drag the arrow icon.
Drag and drop the item to switch between level 1 and level 2. Move it slightly right to nest it under a parent.
Moreover, before publishing, you can choose whether to display or hide the menu item and its page. To do this, simply check or uncheck the "Enabled" box.
Translation of main navigation menu
To translate the main navigation menu, you must first create the complete menu structure in the original language. This includes all level 1 items and their associated level 2 items.
Once the full menu is set up, you will be able to translate into another language from the menu interface.

To access, first click on Structure in the main menu.
Then, go to the Menus section.
From there, click on Secondary navigation.
⚠️ If you need a change on the map or the content of the Region switcher, please send the request to the Site Factory contact person. This kind of change requires Admin permissions.
Secondary navigation set up

To edit or add an item, click the blue Add link button at the top.
On the edit page, enter the title of the menu item and paste the node (URL path) of the page it should link to.
Then, on the right side, choose the Parent link. It is very important to set the parent link to Secondary navigation item.
Once everything is set, click Save.
You must first create the complete secondary navigation menu in the original language; once this is done, translation will be available through the Translate menu. Plus, the region switcher will be automatically installed.
To access the Basic Site Settings, first click on Configuration in the main menu. Then, go to the User interface section. From there, click on Header Settings.
You’ve now arrived on the Header Settings configuration page. The warning message at the top reminds you which language the current settings apply to. To change the language, follow the recommended steps for creating a CTA in the correct language.
To create a new CTA, simply click "Add new media item" and proceed with the setup. ⚠️ If you need This item please send the request to the Site Factory contact person. This kind of change requires Admin permissions.
Create a new media item (CTA)
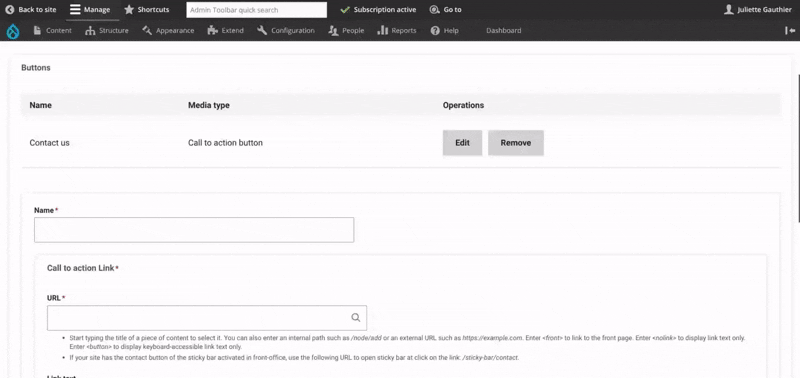
When creating a new CTA, the form appears just below.
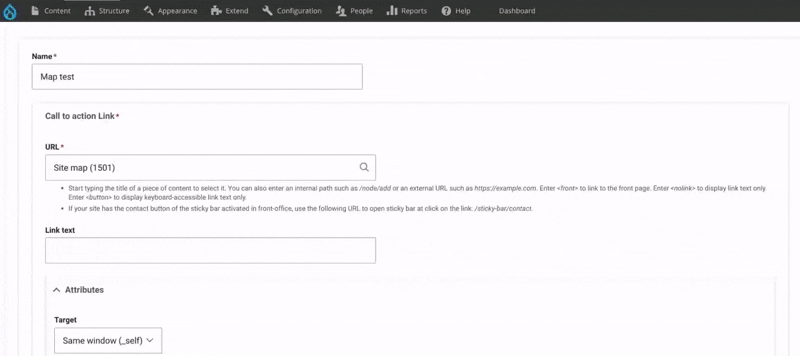
Start by entering the name. In the URL field, add the link to the page you want users to be redirected to. Then, fill in the link text, which will be displayed on the CTA button.
In the Attributes field, choose whether the link should open in the same window or in a new window after clicking.
Next, select the button color and the icon. In most cases, the CTA is used to let users contact us, so the "letter" icon is commonly chosen.
Finally, click Save to confirm.
Visual and configuration header settings
To manage the CTA order in the header, you can reorder items by dragging the arrow icon next to each one.
To edit or remove a CTA, click on Edit or Remove at the end of the row, on the right.
If you choose to remove it, make sure to confirm the deletion by answering the confirmation question that appears just below.
Finally, click Save.

To access, first click on Structure in the main menu, go to the Menus section and click on Footer or top footer.
This menu works like the Main navigation, with a first and second level configured the same way.
On the edit page, enter the menu title and paste the URL path of the page.
Check the Enable box and, if needed, the Show right separator.
In the right-hand menu, be sure to define the correct Parent link, matching the desired footer level.
Finally, click Save to apply the changes.
Footer and top footer menu | preview
Footer and top footer | visual
The footer and top footer menu are located at the bottom of the page.
The top footer menu includes all the pages from the main navigation — both first and second levels — acting as a summary of the entire site.
In the footer menu, you’ll also find important pages like compliance, legal, and privacy information.

Explore more configuration options