This procedure explains how to translate the pages and elements of your site.
How to set the default language
To configure the default language of your site, first go to Configuration, then navigate to Regional and language, and select Languages.
Next, click on Add language and choose the desired language from the dropdown menu.
Once the translation process is complete, check the Master option to set this language as the new default for the site.
To remove another language, go to the far right of its row and click on delete. Finally, Save configuration.
Set up the URL and language menu display
In the Languages menu, go to the Detection and Selection tab.
Then select Path prefix so that the website language is determined by the URL.
You should, after that, set en or fr as the prefix depending on the language, or leave the field empty to display English without a prefix.
Lastly, you can enable or disable Display language name in title attribute, which allows you to show the language or hide it if the traduction is not yet ready.
Translate the user interface
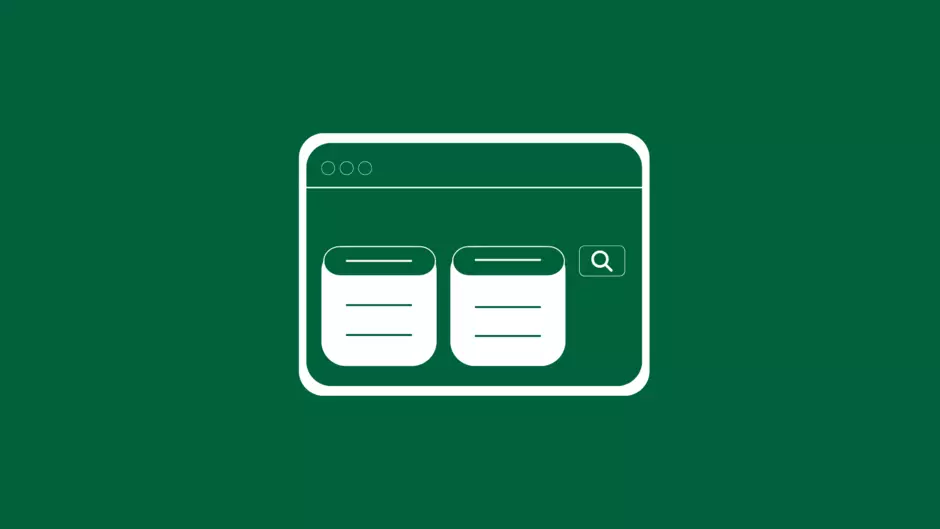
To translate interface elements not automatically translated (like the "Search" button), go to Configuration, then Region and language and choose Interface interface translation.
There, find the untranslated string and enter its translation manually next to the corresponding text.
If you're looking for a specific element, use the Filter translatable strings. Search for the string, enable "Strict match" if needed, select "Both translated and untranslated strings" and click Apply, then save your translation.