This procedure explains how to create redirections and change the destination of specific URLs.
Access the redirection
To access Redirects menu settings, first click on Configuration in the main menu.
Then, go to the search and metadata section.
From there, click on URL redirect.
Scenario 1 | Adding a URL redirect

Scenario 2 | Mass import of domain redirects
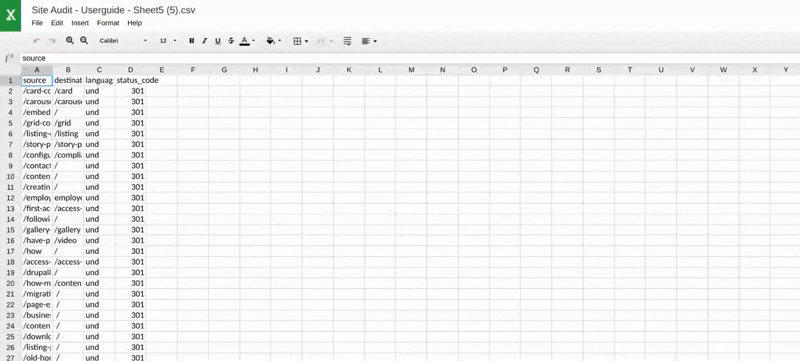
To import several domain redirects at once, start by preparing a CSV file with the appropriate structure. Find the template here.
Then, go to the back office and select the Migrate menu.
Click on the CSV File field to upload your file. Once the file is uploaded, select the option Import domain redirects.
Click Migrate data to launch the import process.
All the new redirects will be processed and added. You can find them in the Domain redirects tab.