This procedure explains how to configure the sticky ba bar to boost engagement.
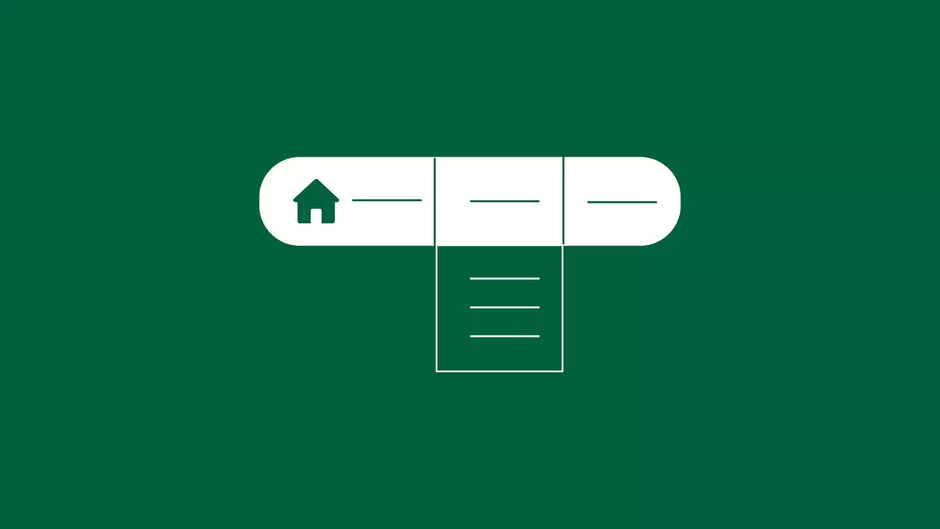
Step 1 | Sticky bar definition
To create a sticky bar, go to Structure and click Sticky Bar Definition. In this menu, each row represents a sticky bar item (or block). To set up or edit a block, click Edit on the far right of the row.
Sticky bar types include:
Your Needs – displays a page using its Node ID
Contact – shows a Webform
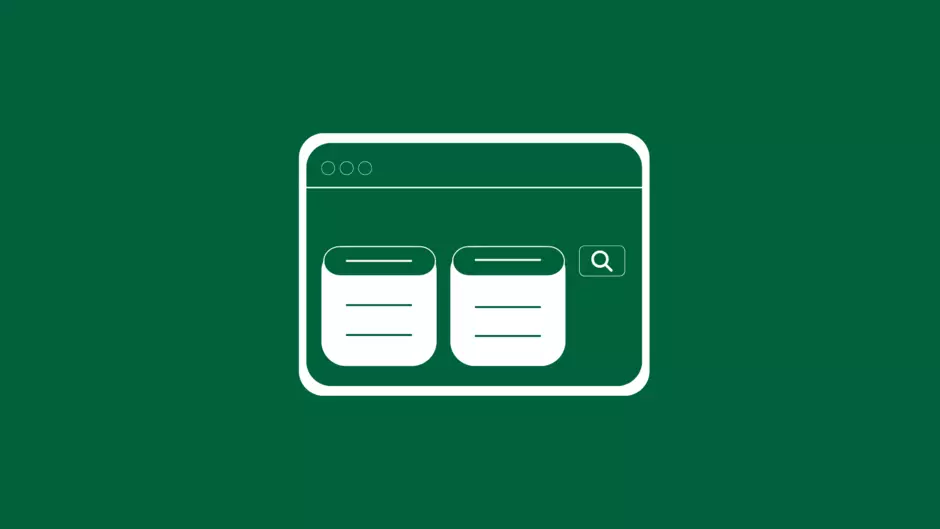
Business Cases – lists business case content with filters
Find an Office – links to the Location content type
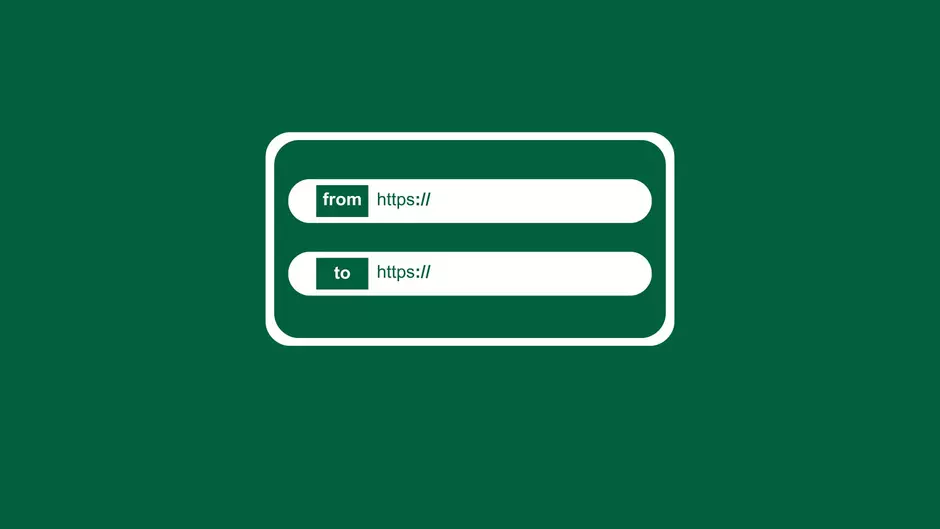
External Redirection – redirects to an external link, with an optional mini form
Link 1–4 – external URLs, with an option to open in a new tab
Page 1–4 – displays or redirects to a page via Node ID or link
On the edit page, start by checking the "Enabled" box to make the block visible.
Next, choose an icon from the available list; here, a document detailing each icon and its corresponding meaning is available for reference. Optionally, define an icon background color with a specific color code (like #RGBDDP).
For the Contact sticky bar, the last step is to fill in a Webform. For the Link 1–4 sticky bar, the last step is to enter an external URL, with the option to open it in a new tab if needed.
Finally, don't forget to save the configuration to apply your changes.
Step 2 | Sticky bar set up
On the edit page, check the "Enabled" box to make the block visible. Then, enter a title and check "Display title" if you want it shown. You can also add an optional description.
Some sticky bar types require slightly different setup steps:
Your Needs: After setting the title and description, input the Node ID, found in the URL of the node’s edit page.
Contact: After the title, enter a step message (used to guide users through the form).
Business Cases and Find an Office: No additional fields beyond title and optional description.
External Redirection: In addition to title and description, fill in the following fields: form description, field title, field placeholder, button text, URL prefix, an optional pattern for allowed values, and the error message to show if the input is invalid.
Link 1–4: Add an external URL with an option to open it in a new tab.
Page 1–4: Enter a link to redirect the user to the page directly, without a popup window.

Step 3 | Sticky bar visibility settings
To make the sticky bar visible on specific pages, go to Configuration > User Interface > Sticky Bar, then click on Sticky Bar Visibility Settings.
In this section, you can specify the pages by entering their paths — one per line. The " * " character can be used as a wildcard. For example, " /user/*" targets all user pages, and " <front>" represents the front page.
You can also use the checkboxes below to define whether the sticky bar should be shown or hidden on the specified pages.
If the visibility field is left empty, the Sticky Bar will continue using the global visibility settings.
When visibility is configured directly on an individual Sticky Bar, this local setting takes priority over the global configuration.