Configure email notifications
Email notifications is a functionality that allows to trigger emails after the submission of a webform.
Go to Structure > Webforms, then on the line of your webform click Build.
Click the Settings tab, then Email / handlers sub menu.
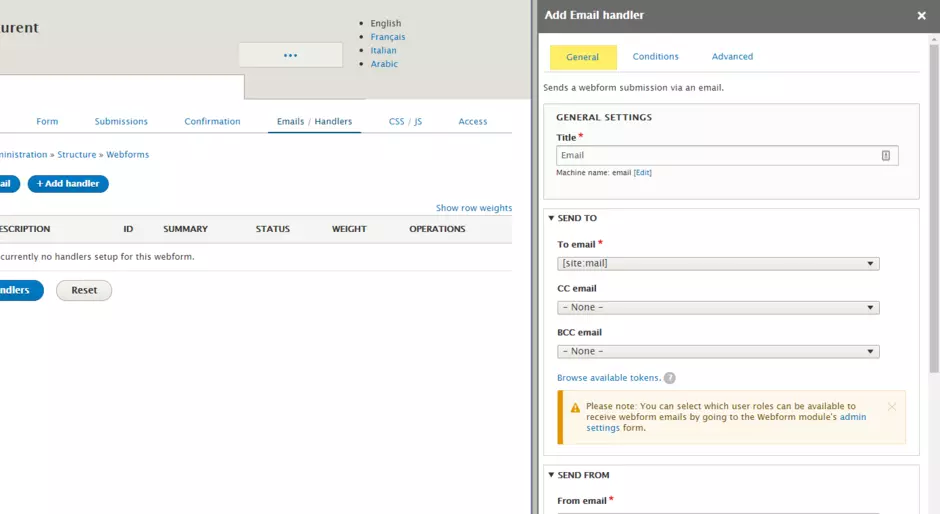
Then click Add email button. A side panel opens.
Configure a notification sent to the user who submitted the form
Requirement: your form aks user for his email.
- Add a title of the handler, for the back-office. Example: "Confirmation email to submitter"
- In field To email, select the email field under Elements group. This field is the one where your form asks user for his email.
- Click Save
From now on, each person who submits the form will receive a confirmation message by email.
Configure a notification sent to a custom email address
- Add a title of the handler, for the back-office. Example: "Notification to [email protected]"
- In field To email, select option Custom To email address and add an email address. Ex. [email protected].
- Click Save
From now on, [email protected] will receive a notification each time the form is submitted.
Webform fields
Several types of fields are supported for now and can be added to any webform: section, textfield, textarea, email, file, telephone, select options.
How to create
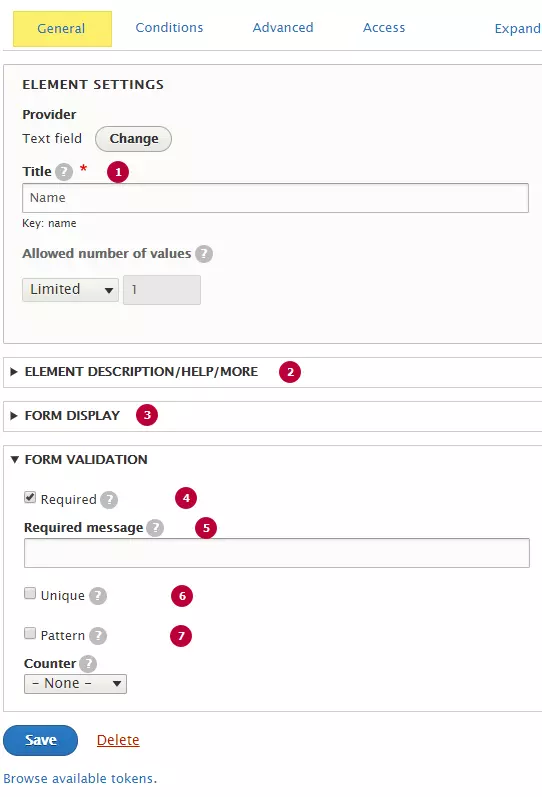
Click on 'Add element' button to add new field. Select appropriate type of field and click 'Add'. After adding field's configuration form will be shown in the right side of the screen.
| Field | Description |
|---|---|
| 1 - Field's title | Title will be displayed as a label for text field. Title text can be hidden |
| 2 - Field's additional text | Additional text can be set as Description, Help or More information |
| 3 - Form display |
Additional display options as title, additional text displaying, placeholder, etc. can be manage with a form. |
| 4 - Required field | If checked field becomes required |
| 5 - Validation message | Message that will be shown for users. Standart message displays by default, can be customized |
| 6 - Unique | Error message wil be shown if inputed data already exist. Can be used to limit answer count from one email/phone number |
| 7 - Pattern | Custom validation pattern can be added for a field. e.g: post code. |
1. Textfield

Textfield enable the user to input text information. Textfield has only one line and allows to enter any characters without limitation.
Textfield can be displayed with label, description and validation.
2. Textarea

Textarea has the same functionality, as textfield but it's possible to input text in several lines. A textarea can hold an unlimited number of characters, and it should be used for cases with long text input , for instance 'message' on contact form
Textarea can be displayed with label, description and validation.
3. Email field
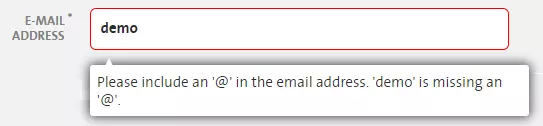
Email field checks if inputed text is valid email address. It's the special type of textfield, that have extended validation and display error message if text is not valid.
Email field also can be used with Email confirm field.
4. Telephone field

Telephone field is another variation of extended text field, the field checks if entered text is valid phone number.
Telephone field can be set in international or local mode. Phone number should starts with "+" symbol in international mode.
5. Extended telephone field

With extended telephone field users can select country and enter international phone number. Data is validated according to selected country's rules.
Default country can be pre-defined or detected automaticaly according to user's IP.
6. Select field
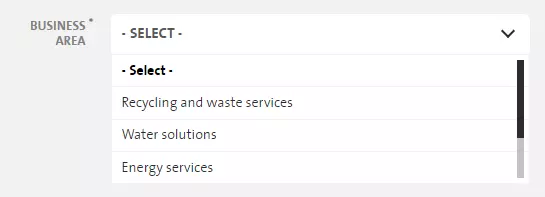
Select field allows a user to select a value from a series of options. Select field must have at least one option. Option -Select- displays by default, if no option is selected. empty option can be customized with 'Empty option label' and 'Empty option value' fields.
Option text and value fields can be set for each option. Option text is displaying for users in the Select field, Option value is not visible in Front office, but can be used for configuration of email handlers or fields with conditionals.
7. File field

File field allows users to upload one or several file as attachment. Allowed extensions, count of filesa and max file size can be set for File field.
Uploadded files are visible at webform submissions page as attachments, and can be downloaded. File field can be displayed as standard upload form or upload button(displayed on preview above)
8. Section block

Section allows to group fields in blocks, for example: Your details, Your message. Title of section is displaying above fields, that were added. Title can be hidden, also headers(h1,h2,h3,h4) can be added for section's title.
! Each webform must have section with name 'Action'. This section defines max width of submit button. In other case the submit button will be displayed in full width.
Confirmation types after submission
Confirmation options can be set for a webform:
Open Settings -> Confirmation tab to change confirmation type of the webform:
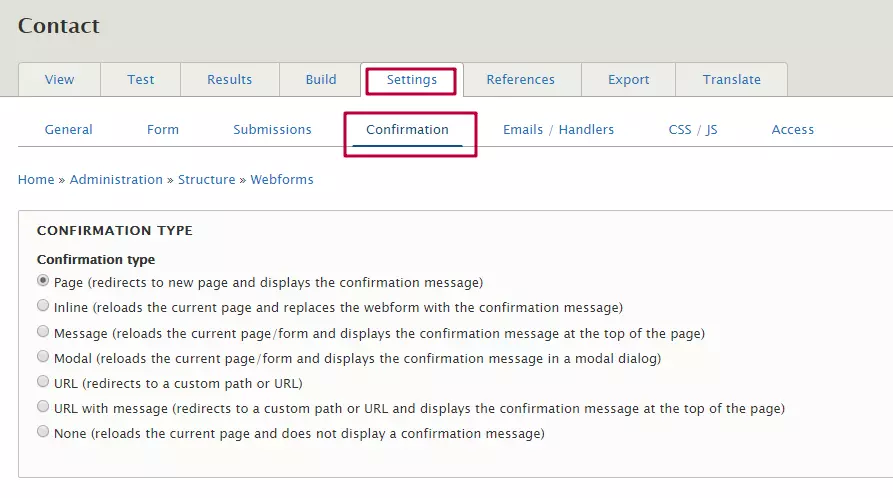
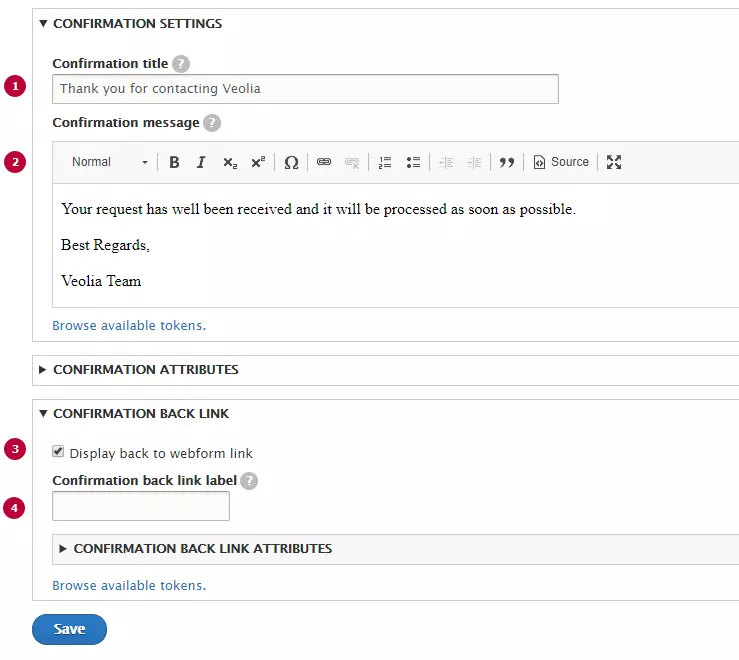
Confirmaton title and message can be set for the webform confirmation. Also it's possible to configure confirmation back link(not for all confirmation types)
| Field | Description |
|---|---|
| 1 - Confirmation title | Text displayes as page's title or popin title(Depends on confirmation title) |
| 2 - Confirmation message | Text of confirmation message. Text styles can be applied |
| 3 - Display back to webform link | Allows users to return back to the webform after confirmation |
| 4 - Confirmation back to webform link | Custom text for the back button. Default value is 'Back to form' |
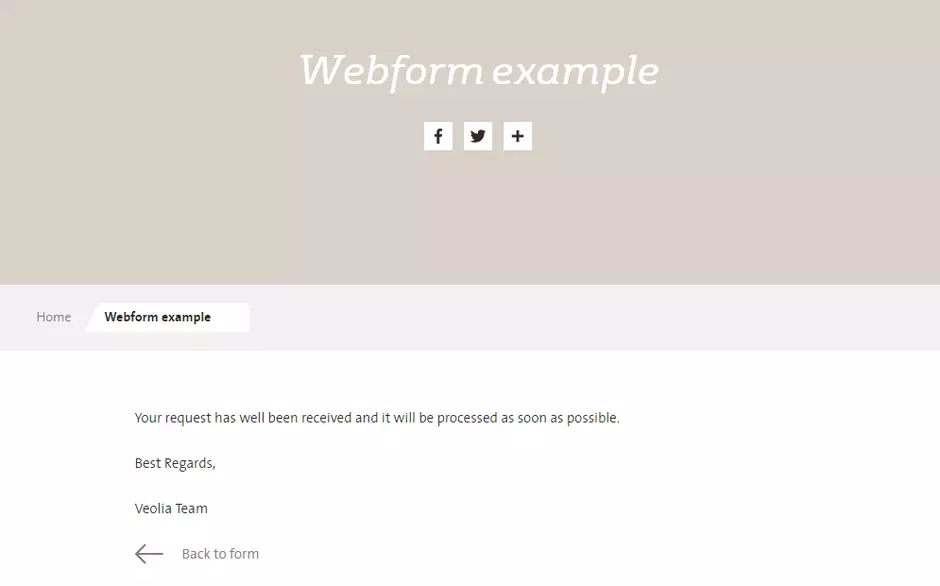
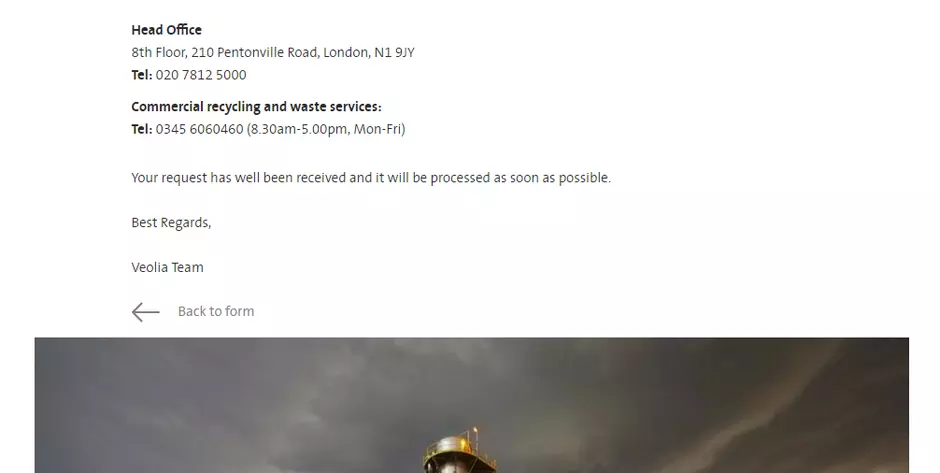
Confirmation type: Page
After user submitted the form, page reloads and it's possible to display a thank you message.
Confirmation type: Inline
After user submitted the form, form will be hidden and thank you message will be displayed on the same page.
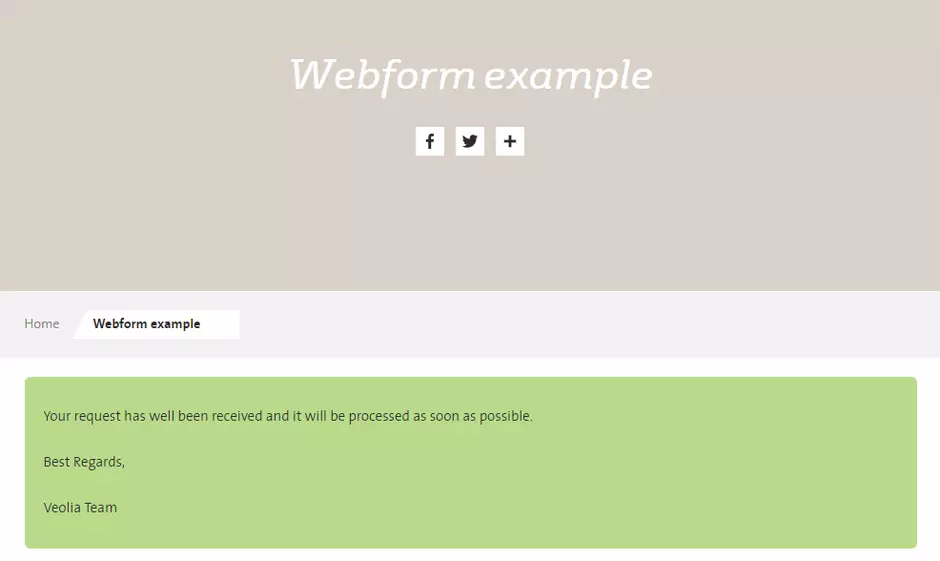
Confirmation type: Message
After user submitted the form, confirmation message will be displayed at the top of a current page. Confirmation message has a green background color
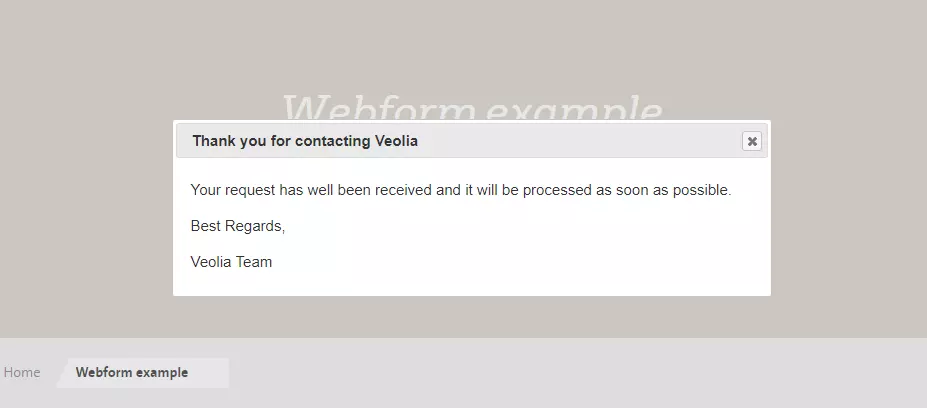
Confirmation type: Modal
Confirmation message will be shown in a popin on the same page after user submitted the form.
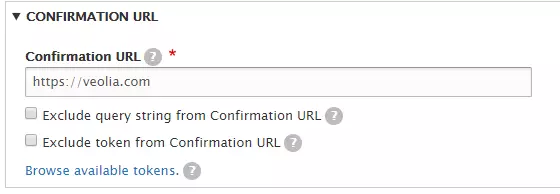
Confirmation type: URL
User will be redirected to a set URL address after submission. URL can be to internal or external page. URL confirmation form will be shown after URL confirmation type selection:
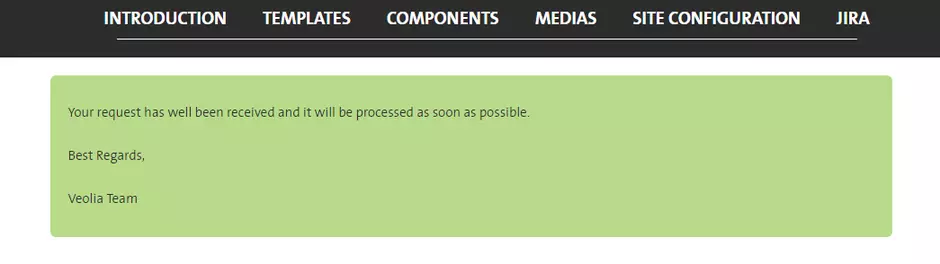
Confirmation type: URL with message
User will be redirected to a set URL address after submission and message will be displayed on the destination page. Internal URL should be internal page (in other case message won't be shown)
Confirmation type: None
Page will be reload after submission. No message will be shown for a user. Option is not recomended to use