This procedure allows you to display all the key contact information for our clients, including their local offices or business units.
It involves three steps:
Step 1: create a "Contact" page


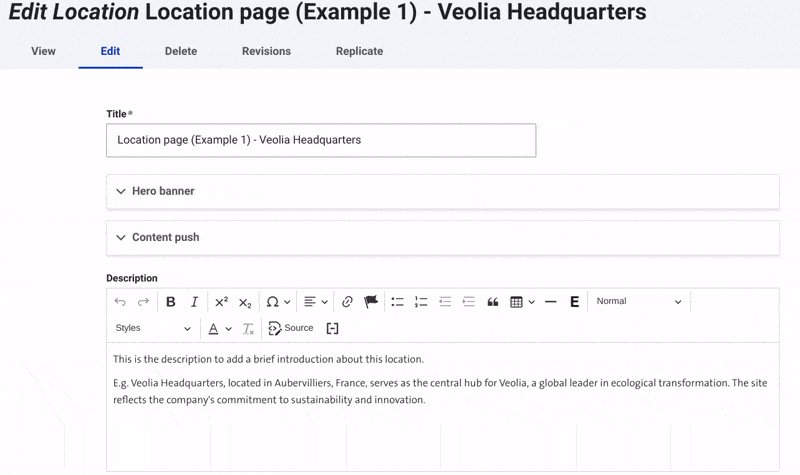
Step 2: Add "Contact" to a "Location" Page
- Navigate to the Location Page:
- Go to the "Content" section in the admin menu.
- Search for and select the Location page where you want to add the contact.
- Scroll to the Contact Section:
- Once you're on the location page, scroll down to find the Contact section.
- Use the Search Bar to Find the Contact:
- In the contact section, use the search bar to find the specific contact associated with that location.
- Select the Contact:
- Click on the desired contact from the search results to select it.
- Once the correct contact is selected, click "Save" to update the location page with the contact information.
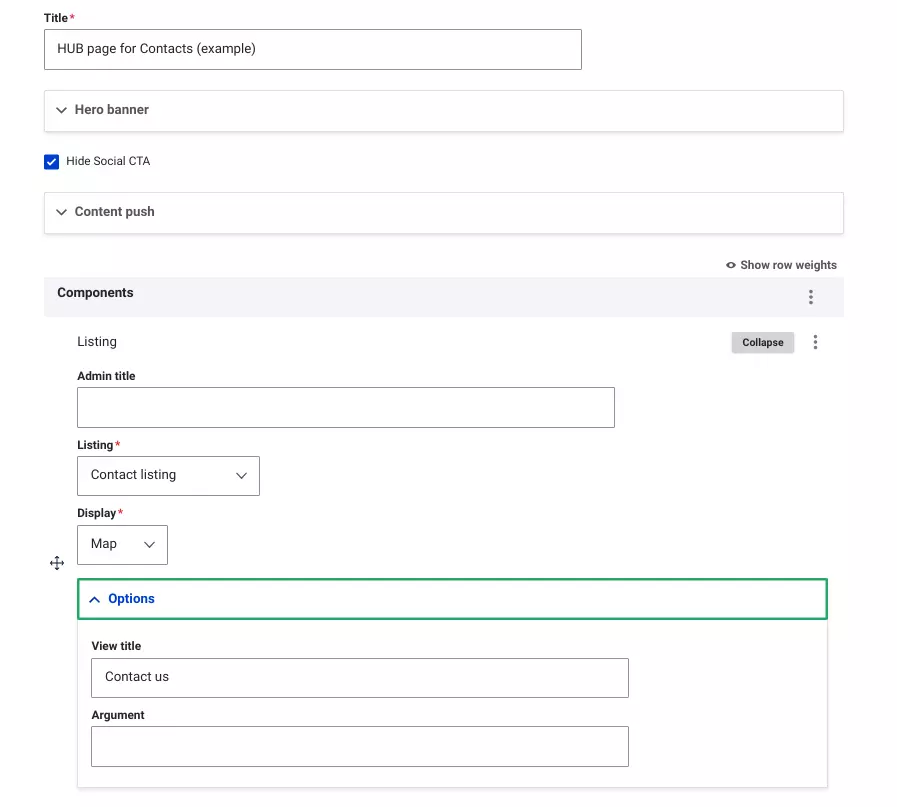
Step 3: Create a Hub Page for Contacts
- Create a Page Using the "Page" Content Type
- Add a New Listing Component
- Select the "Contact Listing"
- Choose a Display Option:
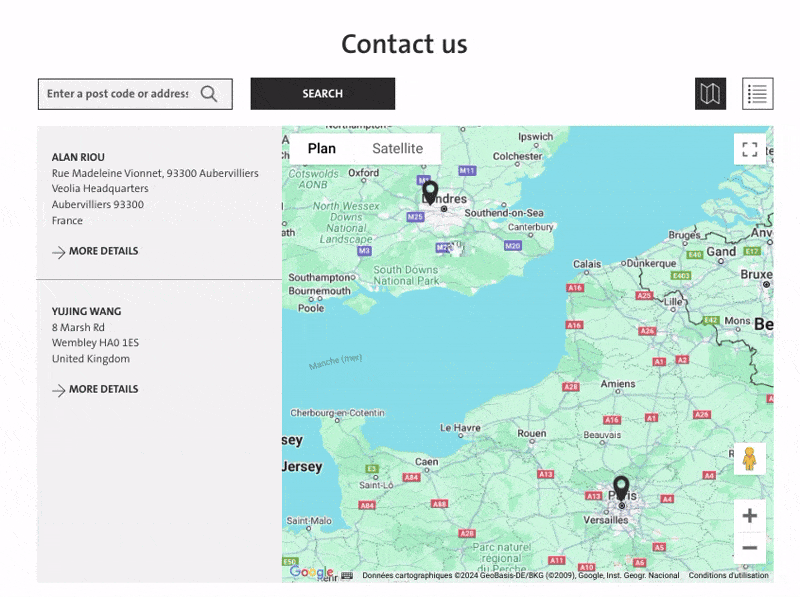
- "MAP" to display contacts with a location map, showing where each contact is based.
- "GRID" to display contacts in a grid layout, organizing them into rows and columns.
- Expand the Options Menu to Customize Additional Settings
- Add the "Title" field, add a title above the listed contacts if desired.
Save the Changes and change the status to "Published".
Map display
Grid display